
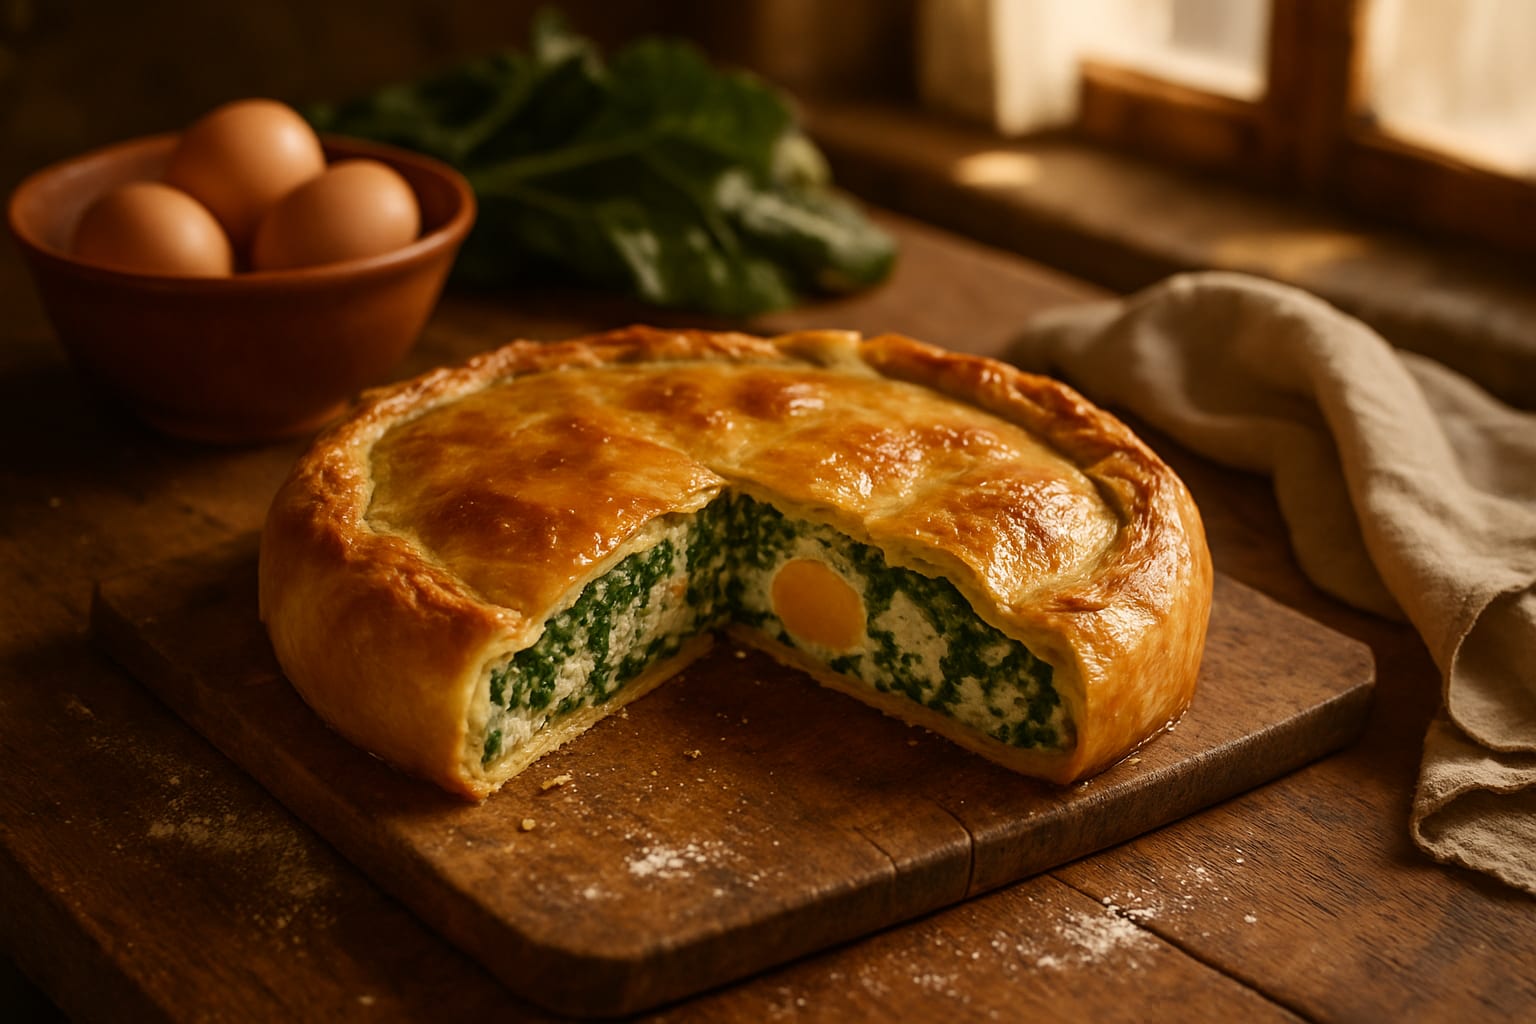
In our family, Easter never truly began until my mother pulled her big copper pot down from the shelf and set to work stripping mountains of chard for torta pasqualina. We were not Genoese ourselves, but my mother had learned the recipe as a young bride from a neighbor who had come down from Liguria, and she guarded it like a family secret. I remember standing on a stool beside her, my hands sticky with olive oil, watching her stretch the dough so thin you could read a letter through it — she always said a true torta pasqualina needed thirty-three layers, one for every year of Christ’s life, though on busy years she confessed to cheating with far fewer. The kitchen would fill with the smell of blanched greens and warm ricotta, and when at last she sliced into the golden pie at the Easter table, everyone leaned in to see whose piece would reveal a perfect, sunny egg yolk tucked inside. It felt like magic every single time. That pie taught me that patience and love, layered thin and pressed together, can hold a whole family’s history inside. Follow this torta pasqualina recipe step by step and bring the flavours of Liguria into your kitchen.
Ingredients
Method
- Pile the flour onto your work surface and make a well in the center, then pour in the lukewarm water, olive oil, and salt. Mix with a fork at first, then bring the dough together with your hands and knead for a good eight to ten minutes, until it feels smooth, elastic, and slightly tacky. This kneading matters more than you’d think — Ligurian pastry dough has no butter or lard to soften it, so developing the gluten well is what lets you stretch it paper-thin later without it tearing. If the dough resists you at first, keep going gently; it will relax.
- Divide the dough into pieces — six equal balls for a beautiful simplified version, or up to twelve if you want to try your hand at the old tradition of many thinner layers. Rub each ball generously with olive oil, cover them with a damp cloth or plastic wrap, and let them rest for at least 30 minutes at room temperature. This rest is not optional: it relaxes the gluten you just built, so when you roll the dough out later it will stretch thin like silk instead of springing back and tearing. The oil coating also keeps each layer separate and flaky rather than gummy once baked.
- Wash the chard well and strip the leaves from the tough stems, then wilt them in a large pot with just the water clinging to the leaves, no extra needed. Once wilted and cool enough to handle, squeeze out every bit of moisture you can — really wring it in a clean kitchen towel — then chop it finely. In a pan, soften the onion and garlic gently in olive oil until translucent, then stir in the chopped greens and cook for a few minutes to drive off any remaining liquid. A watery filling is the enemy of a crisp torta pasqualina, so do not rush this step.
- In a large bowl, combine the drained ricotta with the grated Parmigiano, three of the eggs, nutmeg, salt, and pepper, beating until smooth and creamy. Fold in the cooled chard mixture and the marjoram, tasting and adjusting the seasoning — the filling should taste a little bolder than you expect, since the pastry and whole eggs inside will mellow it. Set this aside while you roll out your pastry, so the flavours have a moment to settle together.
- On a lightly floured surface, roll and gently stretch each ball of dough as thin as you possibly can — Nonna’s generation stretched theirs so fine you could see the pattern of the tablecloth beneath. Brush a springform pan generously with olive oil, then lay in your first sheet, letting the excess drape over the edges, and brush it lightly with more oil. Repeat with half your dough balls, brushing oil between every single layer; this is the secret behind the pie’s famous shattering, flaky bottom, so do not skip a single brushing.
- Spread the ricotta and chard filling evenly over the layered base, smoothing the top with the back of a spoon. Using the spoon, press six shallow, evenly spaced wells into the surface of the filling, deep enough to cradle a whole egg without it running into its neighbor. This is the moment the torta pasqualina becomes truly special: each slice will reveal its own perfect golden yolk, a little Easter surprise baked right into the heart of the pie.
- Carefully crack one egg into each well, keeping the yolks intact, and season each with a small pinch of salt. Layer the remaining dough sheets on top one by one, brushing each with olive oil as before, then trim the overhanging edges and roll or crimp them together to seal the pie completely. A tight seal keeps the eggs from shifting and traps steam inside so the pastry puffs and crisps rather than turning soggy. Brush the top generously with olive oil and, if you like, prick it a few times with a fork or the tip of a knife to let steam escape.
- Bake in a preheated oven at 180°C / 350°F for 50 to 60 minutes, until the top is deeply golden and sounds slightly hollow when tapped. Resist the urge to check the eggs too early by cutting in — they need the full baking time to set into firm, sliceable rounds rather than a runny mess. Let the torta rest for at least 20 minutes before slicing; this allows the layers and filling to settle so your first cut reveals clean, distinct rings of pastry around a perfect egg yolk. Serve warm or at room temperature, as they do in Liguria.